Sunday, May 17, 2015

Mysore Rasam

About the recipe:
This is a very comforting dish. This rasam is generally thicker than the other types of rasam. There are a few ingredients which are roasted and grinded, and that makes the rasam rich and flavourful. Now let us know how to prepare this Mysore Rasam


Preparation time: 15 mins
Cook Time: 10 mis
Serves: 2-3

Ingredients needed:
Toor Dal: ¼ Cup
Tomato: 2 nos
Tamarind: gooseberry sized
Turmeric powder: 4 tsp
Salt: as required
Water: as required
Sugar: a pinch
Curry leaves: a few
Coriander leaves: a few
Ghee: 2 tsp
Mustard seeds: ½ tsp
Hing: ½ tsp

To Roast and grind:
Toor Dal: 1 tsp
Whole black pepper:  1 tsp
Coriander seeds: ½ tsp
Cumin seeds: ¼ tsp
Red Chilly: 3-4 nos
Curry leaves: a few
Shredded Coconut: ½ tbsp


Preparation:
1. Pressure cook the Toor Dal with a little turmeric powder until soft
2. Soak tamarind in warm water for sometime  and extract the juice
3. Heat 1 tsp of ghee in a pan , and roast ingredients mentioned under to roast and grind section except coconut till u get a nice aroma. Switch off the flame and add the coconut
4. After the fried ingredients are cooled down , grind it into a smooth paste
5. Chop the tomatoes roughly


Method:
1. Once the toor dal is cooked , add the chopped tomatoes, salt, tamarind juice and mash everything together
2. Add the grounded paste, enough water, check salt and cook it in medium flame till you see froth on the top
3. Add chopped curry leaves and coriander leaves
4. For seasoning, add a tsp of oil in a small pan, when the oil is hot add mustard seeds. When the mustard seeds start cracking add hing and pour it over the rasam
5. The hot Mysore rasam is ready to be served with rice


Note:
1. Keep the flame in medium while roasting the ingredients
2. Do not add too much of Toor Dal for making the rasam.
3. Make sure you blend the tomato and toor dal mixture well. Just use your hands to do this. Do not use a blender
4. The consistency of this rasam should be thicker than the normal rasam. So add less water


Friday, May 15, 2015

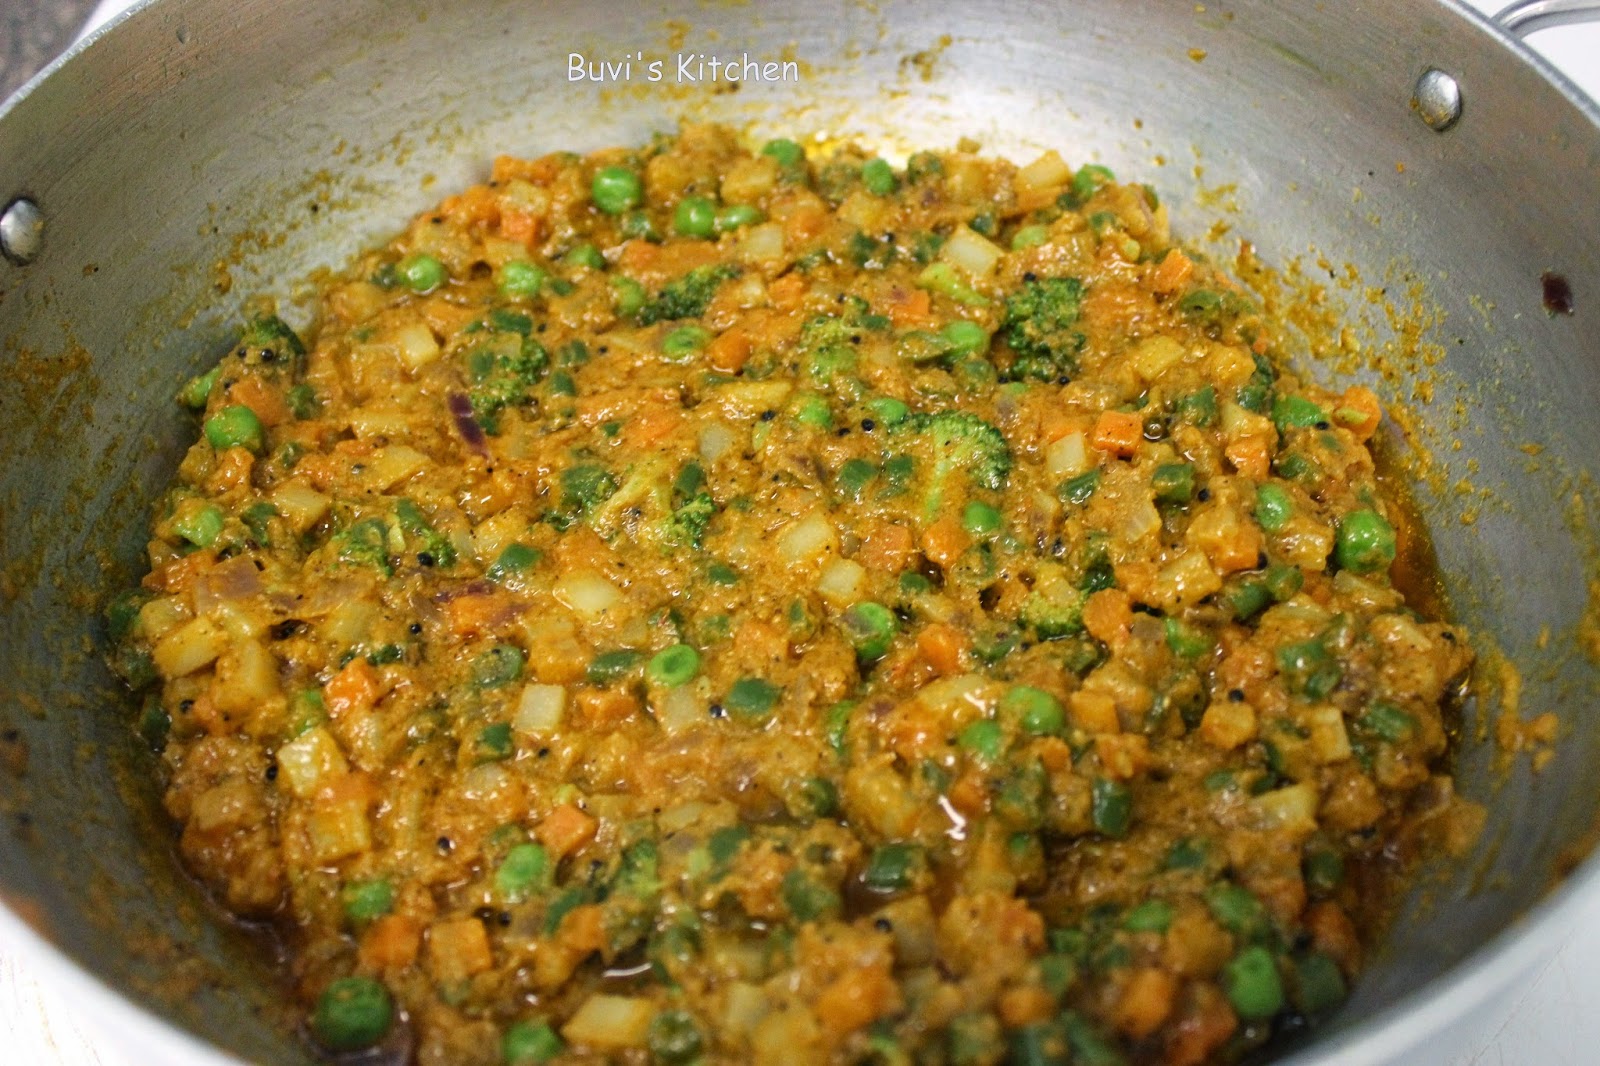
Vegetable Rice

About the recipe:
This is a variation from the Vegetable Biryani which I had posted earlier. This recipe has a quite a list of ingredients to be grinded. In this recipe, the rice and the vegetable masala are cooked separately and mixed together. Believe me, it tastes really delicious and a must try one. The left over vegetable curry tastes great with chapati/phulka or dosa


Preparation Time: 15 mins
Cook Time: 15 mins
Serves: 3

Ingredients needed:
Vegetables: 2  Big Cups (I used Carrots, beans, potato, peas and broccoli)
Boiled Rice: 3 Cups
Onion: 1
Mustard Seeds: 1 tsp
Turmeric powder: 1 tsp
Salt: as required
Oil:1 tbsp

To Grind:
1. Coconut: 2 tbsp
2. Fried Gram/Pottukadalai: 2 tsp
3. Coriander seeds: 2 tsp
4. Cumin seeds: 1 tsp
5. Whole black pepper: 1 tsp
6. Green Chilly: 1
7. Dry Red Chilly: 3
8. Cardamom: 2 nos
9. Cinnamon: ½ inch stick
10. Cloves: 2 nos
11. Fennel seeds/Soambu: 1 tsp
12. Ginger: 1 inch piece
13. Garlic : 2 nos
14. Cashew nuts: 4-5 nos
15. Small onions: 4-5
16. Tomato: 2 nos


Preparation:
1. Wash and chop the vegetables and keep it aside
2.Chop onion finely
3.Grind all the ingredients mentioned under the grind section to a fine paste ( add very little water if needed)


Method:
1. Heat oil in a pan, add mustard seeds.
2. After the mustard seeds splutter, add chopped onions, turmeric powder, salt and saute it well
3. Now,add the carrots, beans and potato ( if you are using cauliflower add it at this stage) and mix it well
4. Close the pan with a lid and cook till the vegetables are 70% cooked
5. Now add in the peas and broccoli and cook them
6. Do not overcook the vegetables. They should retain its shape
7. Once all the vegetables are cooked, add in the grounded masala paste
8. Saute it for 4-5 mins. Once you see oil oozing out, it means the masalas are also completely done
9. Check for salt and witch off the stove and add the Cooked rice and very gently mix them
10. Garnish the rice with coriander leaves and serve it hot with any raitha


Note:
1. Do not mix the rice with the entire vegetable masala curry prepared. Take a portion of it and keep it aside. As you mix the rice, you can add the vegetable masala as needed
2. The vegetable masala alone tastes great with chapathi , phulka and dosa
3. If you are using basmati rice, while mixing do not use a big ladle, since it tends to break the rice. instead use a fork and mix it gently

Do not forget to Hit +1, if you like the recipe :) :)


Plantain Fry on dosa tawa / Raw banana fry

About the Recipe:
Raw bananas are thinly sliced and marinated with freshly grounded masalas and then fried on a dosa tawa on a medium flame with very less oil. It is very crispy and can be enjoyed with any variety rice or curd rice


Preparation Time: 10 mins
Cook Time: 10 mins
Serves: 2-3

Ingredients needed:
Raw banana 1
Sambar powder: 1tsp
Salt: as required
Oil: to fry

To grind:
Small onion: 5 -6 nos
Ginger: ½ inch piece
Coriander seeds: 1 tsp
Cumin seeds: 1tsp
Whole black pepper: 1 tsp
Dry red chilly: 3-4


Preparation:
1. Grind all the ingredients under the grind section along with very little water to a smooth paste
2. Cut the plantain into thin slices
3. In a bowl, add the grounded paste, sambar powder, turmeric  powder , salt and add the sliced plantain and  mix everything  gently.
4. Cover the bowl and keep it aside .Let it rest for about 20 minutes.


Method:
1. Heat a dosa tawa, grease a little oil on it, and place the masala coated plantain slices on the tawa ( as shown in the picture)
2. Drizzle a little oil around it. Cook in medium flame for 3 to 5 minutes and then flip over to the other side
3. Cook the other side also for 3 to 5 minutes or until its cooked and crispy.
4. Sprinkle some salt over it , if needed
5. Enjoy this plantain fry with any variety rice, or rasam or curd rice

Notes:
1. You can add a tsp of lemon juice while marinating it if you like the sour taste
2. Cook on medium flame only
3. Make sure you cut the plantain into very thin slices 


Thursday, May 7, 2015

Eggless Butter Cookies

About the Recipe:
These eggless butter cookies are really delicious and each bite melts in your mouth. It is very easy and simple to prepare with very less ingredients and without eggs too. So let us know how to prepare these beautiful cookies


Preparation Time: 10 mins
Cook Time: 15-20 mins
Yields: 18-20 large Cookies

Ingredients:
Soft Butter: 1 ¼ sticks or 10 tbsp
All purpose flour: 2 Medium Cups
White Sugar: ¼ Cup
Brown Sugar: ¼ Cup
Cardamom: 3 nos
Vanilla extract: 1 tsp (optional)
Brown chocolate: as required


Preparation:
1. Preheat the oven to 180°C/350°F
2. Chop the brown chocolate into small pieces
3. Powder the White sugar, brown sugar and cardamom finely and keep it aside
4. Grease the baking tray with some butter and dust it with flour


Method:
1. Beat the butter and powdered sugars nicely till its soft and fluffy
2. Add vanilla extract and mix it nicely
3. Now, add the flour little by little and knead it a little to form a nice and soft dough
4. Take a portion of the dough and make it into medium sizes balls, place it on the baking tray and gently press it to form a round
5. For making the chocolate cookie , just insert few chocolate chips on the cookie and press it gently
6. Now, the cookie batter is ready to go inside the oven
7. Bake it for 15-20 minutes at 180°C/350°F
8. After baking, take the cookies out and place them in a cooling rack
9. After the cookies cools down completely, it can be stored in an air tight container for 8 to 10 days
10.  Enjoy the cookies with a hot cup of tea/coffee

Note:
1. Adding brown Sugar is optional. Instead you can add ½ Cups of White Sugar 
2. You can make the cookie into any shape and add any other cookie toppings on it
3. Make sure the butter is really soft, so that you can beat it easily. If you have refrigerated the butter, take and keep it outside well before

Do not forget to Hit +1, if you like the recipe J J


Tuesday, May 5, 2015

Rava Dosa/ Onion Rava Dosa

About the recipe:
Crispy and yummy dosas without fermentation. These Rava/Onion rava dosas can be enjoyed with sambar or any chutney of your choice


Preparation Time: 10 mins (excluding soaking time)
Cook Time: 5 mins (per dosa)
Yields: 10-12 dosas

Ingredients required:
White Rava/Sooji: ½ Cup
Rice Flour: 1 ½ Cup
Maida/ All purpose Flour: ¼ Cup
Ginger: 1 inch piece
Green Chilly: 1
Cumin seeds: 2 tsp
Whole black pepper: 2 tsp
Curry leaves: a few
Coriander leaves: a few
Salt: As required
Water: 3 – 4 Cups
Oil/Ghee: to cook dosas


Preparation:
1. Mix Sooji, Rice Flour and Maida together
2. Add required salt and 3 Cups of water and mix everything without any lumps
3. Chop ginger green Chilly, curry leaves and coriander leaves finely
3. In a pan, add a tsp of oil and fry the chopped green Chilly, curry leaves, cumin and pepper together for 1-2 mins
4. Now throw in all the fried ingredients along with the chopped coriander leaves into the flour mixture
5. Let it sit for 20-30 minutes before making dosas


Plain Rava Dosa


Onion Rava Dosa


Method:
1. Heat a tawa. Make sure the tawa is hot and keep the flame in medium-high
2. Give the batter a quick mix and pour it over the tawa
3. Drizzle a few drops of oil around the dosa and let it cook
4. Flip it over to the other side and cook it
5. Hot rava dosa is ready
6. For Onion Rava Dosa, Chop onion and just sprinkle over the tawa and then pour the batter on the tawa
7. Cook in the same way as the normal rava dosa
8. Now,Onion rava dosa is ready to be served with sambar or any chutney of your choice

Note:
1. You can also add cashew nuts to the batter
2. These dosas take a little longer time to cook than the normal dosas
3. To get crispy dosas the ratio of Rava:Rice Flour:Maida should be  ½ : 1 ½ : ¼\
4.Make sure the tawa is hot before you pour the batter. If the tawa is not hot enough, you will not get holes in the dosa.

Do not forget to Hit +1, if you  like the recipe :) :) 


Sunday, May 3, 2015

Broccoli Paratha

About the Recipe:
Broccoli is one of the very low calorie vegetables.Just one cup of broccoli provides over 100% of your daily need for vitamin C and vitamin K, and is also a good source of vitamin A, folate and potassium. Regular consumption of Broccoli decreases the risk of obesity, diabetes, heart disease and overall mortality while promoting a healthy complexion and hair, increased energy and overall lower weight.
So, let us know how to prepare a simple recipe using Broccoli.


Preparation Time: 15 mins
Cook Time: 5 mins
Serves: 2-3

Ingredients required:
For the Dough:
Wheat flour: 1 Cup
Salt: 1 tsp
Oil: 1 tsp
Water: as required
For the Stuffing:
Broccoli: 1 Medium
Onion: 1
Green Chilly: 1
Ginger: ½ inch piece
Turmeric Powder: ½ tsp
Chilly powder: 1 tsp
Garam masala powder: ½ tsp
Cumin seeds: ½ tsp
Oil: 1tsp
Salt: as required
Butter/Oil: for toasting

Preparation:
1.In a large bowl, mix all the ingredients mentioned under the dough section except water. Slowly add water little by little to make a smooth dough
2.Grate Broccoli finely
3.Chop onion, green chilly and ginger finely

Method:


For preparing the stuffing:
1.Heat oil in a pan, add Cumin seeds, onion, ginger and green chilly
2.Saute it for a few minutes, then add turmeric powder, chilly powder, garam masala powder and salt
3.Cook it for a few minutes, then add the grated Broccoli
4.After about 5 to 6 minutes the broccoli will be cooked.
5.Check for salt and taste. Now, the stuffing is ready


For preparaing the paratha:
1.Take a portion of the dough and make it into medium sizes balls
2.Roll it into a small circle,with its edges to be thin and the center portion to be thick (shown in the pic)
3.Now, place good amount of stuffing in the middle of the rolled dough
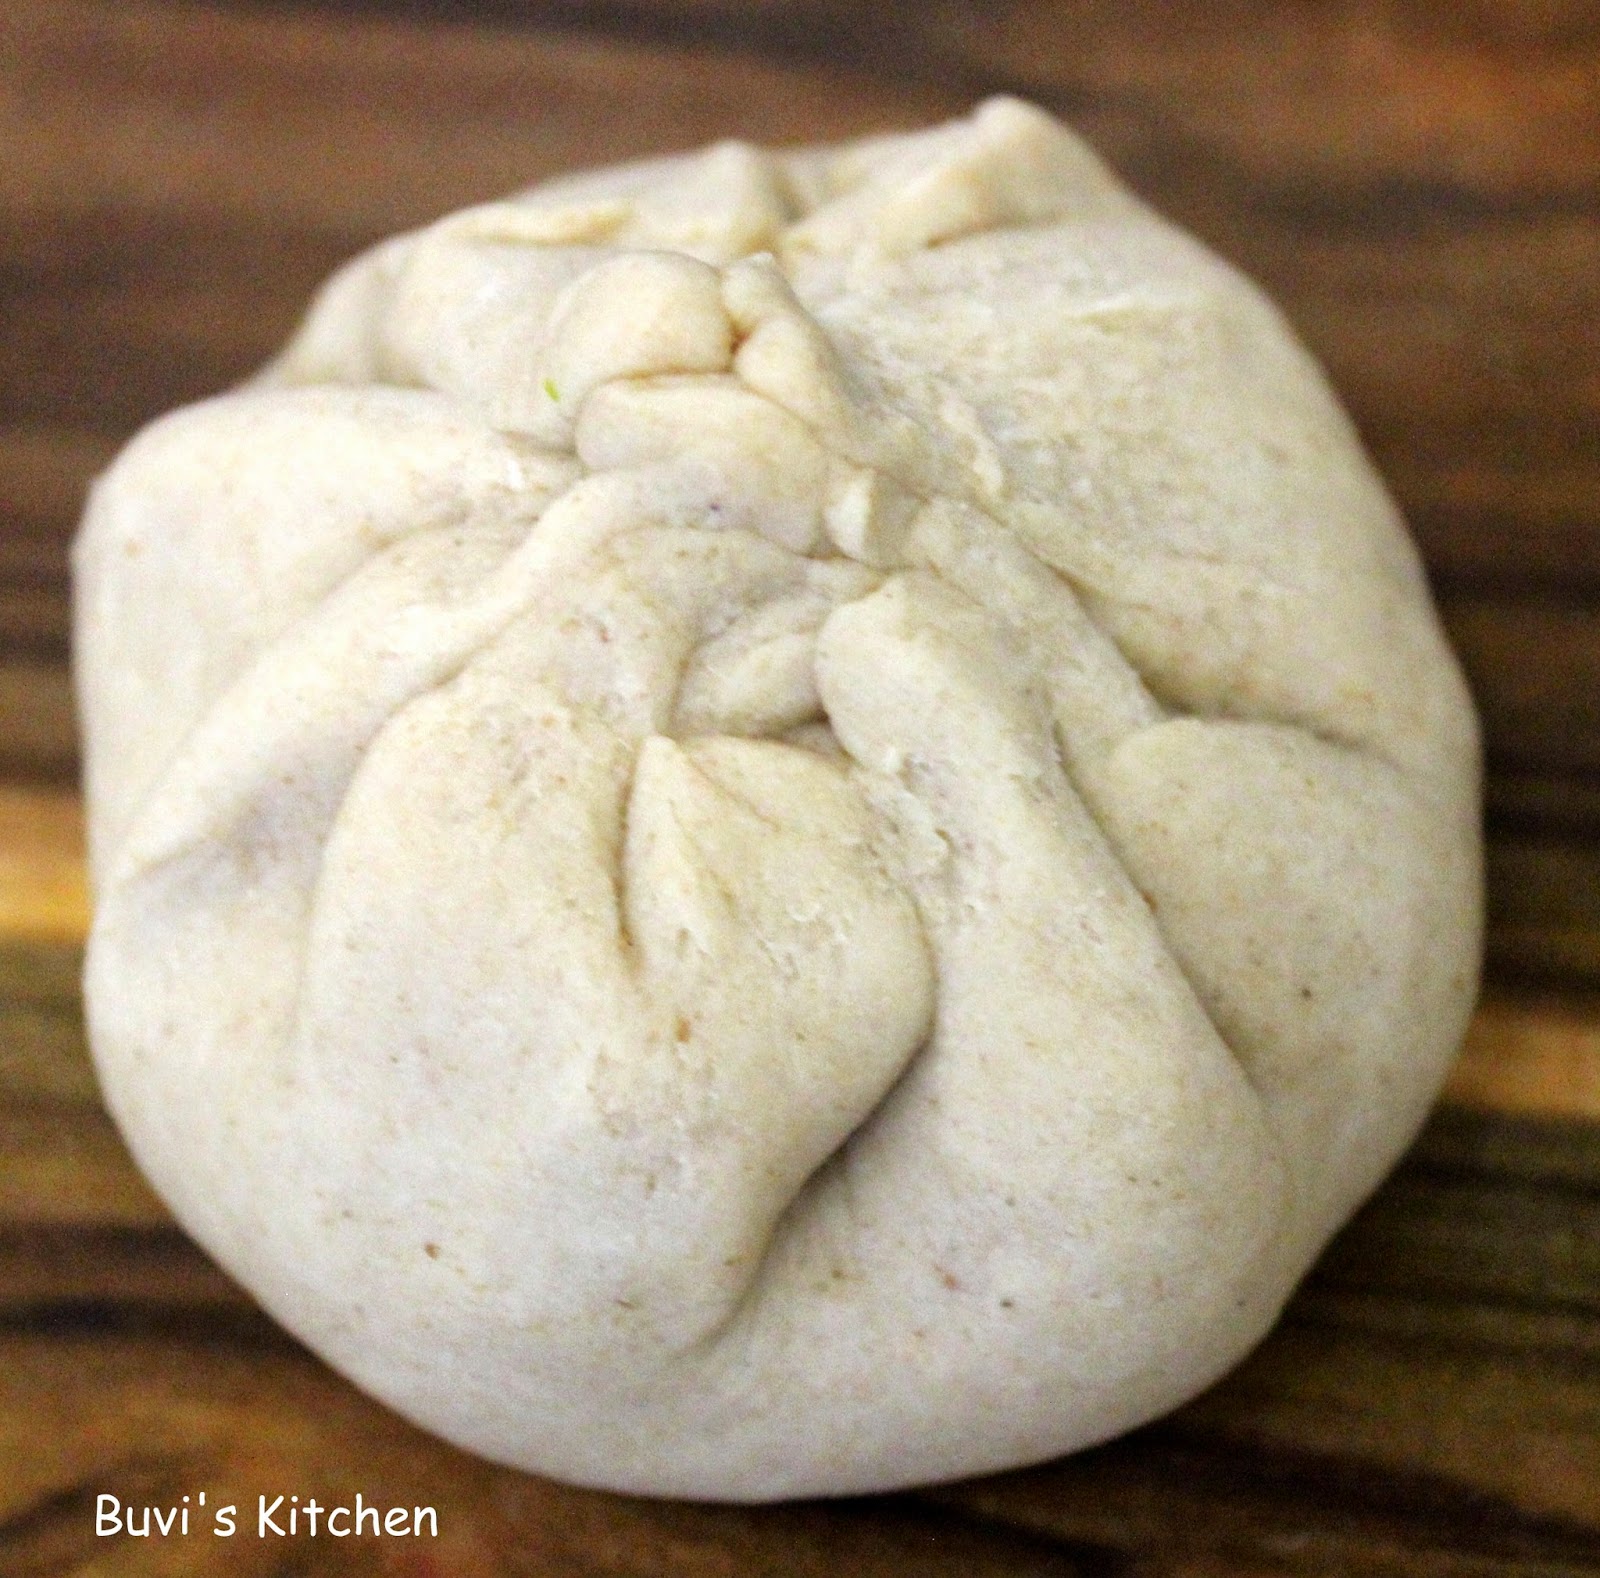
4.Seal the edges carefully without any openings (shown in the pic)
5.Dust it in the flour and gently press it and start rolling it
6.Make sure the thickness is the even while rolling
7.Place the rolled paratha in a hot tawa
8.Cook on both the sides with oil or butter
9.The Hot and soft Broccoli Parathas are ready to be served with onion raitha or any pickle of your choice

Note:
1. You can also add grated paneer for the stuffing.
2. You can adjust the number of green chillies or chilly powder according to your taste


Do not forget to Hit +1, if you like the recipe :) :)